As the crisp autumn air settles in and the leaves begin to fall, our minds turn to cozy sweaters and warm drinks. But before you get too comfortable, there's a critical part of your home that needs attention: your roof. Winter can be brutally harsh on a roof, with heavy snow, freezing rain, and relentless winds. Taking proactive steps now can save you from costly repairs, damaging leaks, and major headaches when the first storm hits.
Don't wait for a drip in the ceiling to tell you there's a problem. Here are five critical steps to winterize your roof and ensure your home stays safe and dry all season long.
1. Clean Gutters and Downspouts Meticulously
This is arguably the most important task on your pre-winter checklist. Your gutters are the primary drainage system for your roof. When they become clogged with leaves, twigs, and other debris, water has nowhere to go.
- Why it's critical: When temperatures drop, trapped water freezes and expands, creating heavy blocks of ice. This can lead to the formation of ice dams—ridges of ice that form at the edge of a roof and prevent melting snow from draining. The water that backs up behind the dam can seep under your shingles and leak into your home, causing significant damage to your ceilings, walls, and insulation.
- What to do: Remove all debris from your gutters and downspouts. A trowel and bucket work well for the gutters. To clear downspouts, use a plumber's snake or a high-pressure hose to flush out any blockages. While you're up there, check that the gutters are securely fastened to the house.
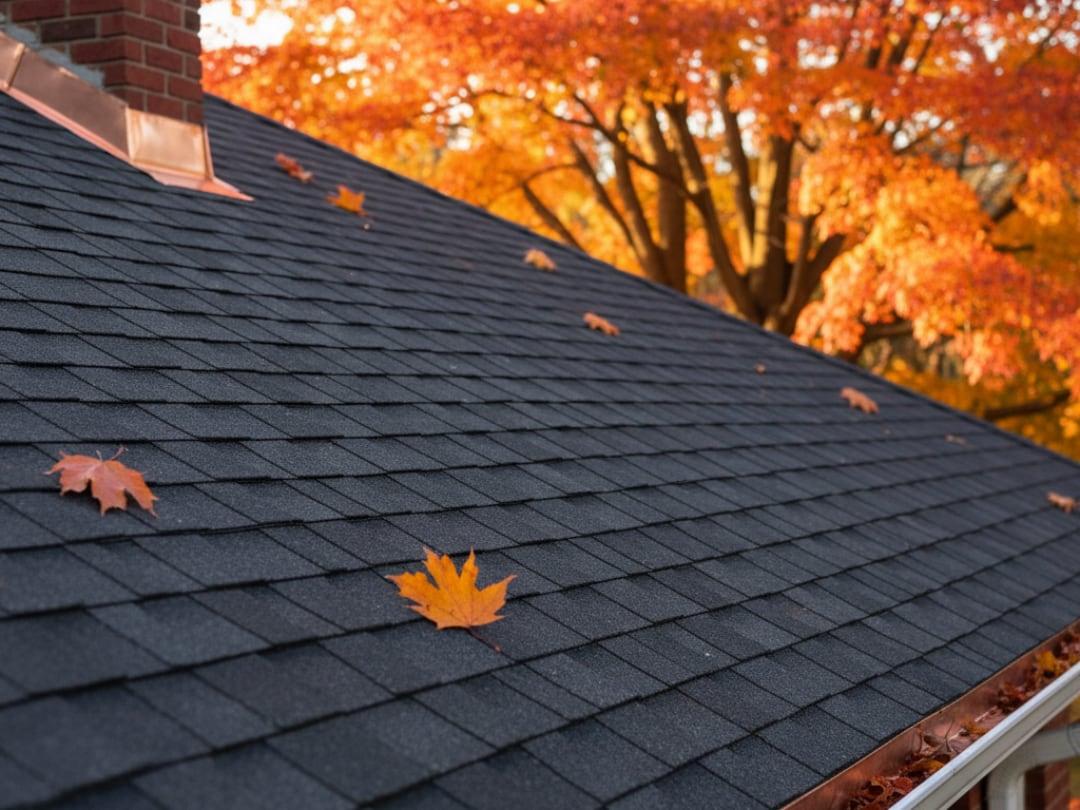
2. Conduct a Thorough Visual Inspection
You don't need to be a professional roofer to spot potential trouble. A careful look from the ground with a pair of binoculars or a safe climb up a securely placed ladder can reveal a lot about your roof's condition.
- Why it's critical: Small issues now can become massive problems under the weight of snow and ice. A single cracked or missing shingle is an open invitation for water to penetrate your roof deck.
- What to look for:
- Damaged Shingles: Look for shingles that are cracked, curled, warped, or missing entirely.
- Flashing: Check the metal seals around chimneys, vents, and skylights. This flashing is a common point for leaks if it's rusted, cracked, or has pulled away from the roof.
- Moss or Algae: While often just a cosmetic issue, significant growth can trap moisture against the roof surface, accelerating shingle deterioration.
- Granules in Gutters: When you clean your gutters, take note if you see a large accumulation of asphalt granules. This is a sign that your shingles are aging and losing their protective layer.
If you find any of these issues, it's best to have them repaired before winter weather sets in.
3. Trim Overhanging Tree Branches
Those beautiful, mature trees that provide shade in the summer can become a major threat in the winter.
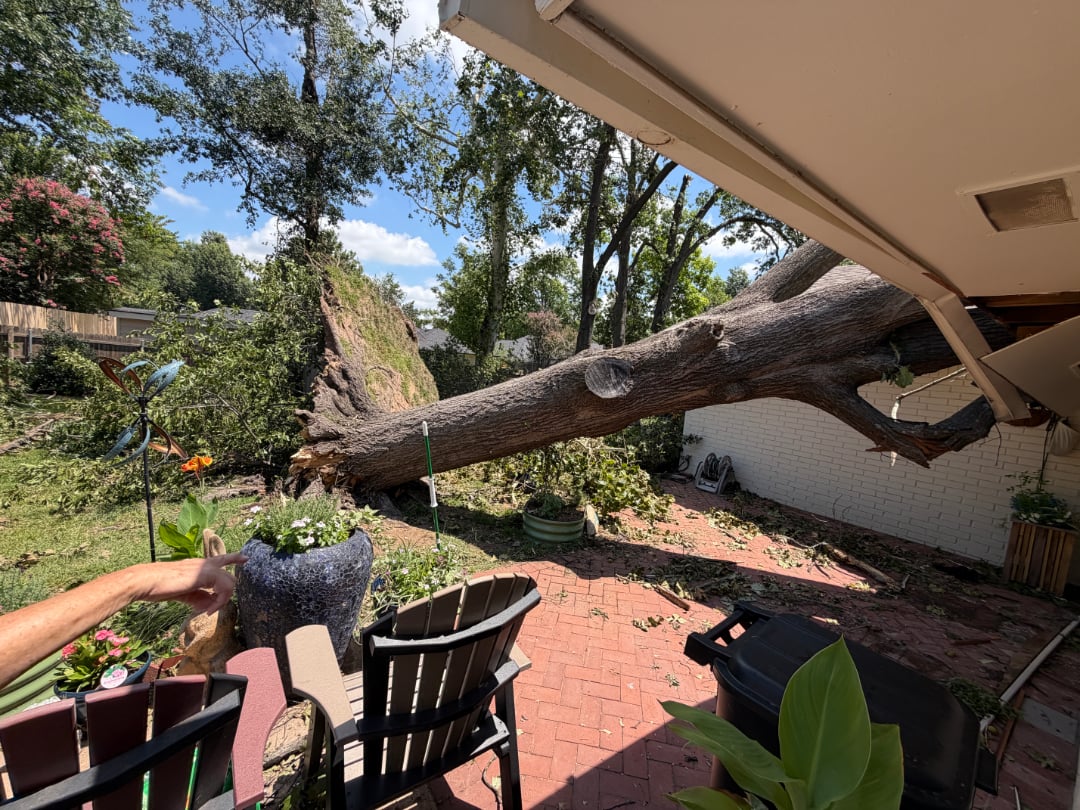
- Why it's critical: Branches laden with heavy snow or ice can easily snap and fall onto your roof, causing structural damage and puncturing shingles. Even smaller branches can be a problem, as they can scrape against the roof surface during high winds, wearing away the protective granule layer on your shingles.
- What to do: Trim back any branches that are hanging directly over your roofline or are close enough to touch it. A good rule of thumb is to maintain at least a six-foot clearance. For large, heavy limbs, it is always safest to call a professional arborist.
4. Check Your Attic's Insulation and Ventilation
What happens inside your attic is just as important as what happens on top of your roof. Proper insulation and ventilation work together to prevent ice dams.
- Why it's critical: A poorly insulated attic allows heat to escape from your home's living space and warm the underside of your roof. This heat melts snow on the roof, but when the water runs down to the colder eaves (the part of the roof that overhangs the walls), it refreezes, starting the ice dam cycle. Good ventilation, particularly through soffit and ridge vents, helps keep the attic air cold and the roof deck temperature uniform.
- What to do: Head into your attic and take a look. Check that your insulation is evenly distributed and deep enough (most experts recommend at least 12-15 inches). Ensure that your vents, especially the soffit vents at the eaves, are not blocked by insulation or debris, allowing air to flow freely.
5. Schedule a Professional Inspection
While a DIY inspection is a great first step, nothing beats the trained eye of a professional roofing contractor.
- Why it's critical: A professional can safely navigate your roof to spot subtle signs of wear and tear that you might miss, like failing seals on vent pipe boots or hairline cracks in flashing. They can provide an expert opinion on your roof's remaining lifespan and identify minor repairs that can prevent a premature roof replacement.
- What to do: Find a reputable, insured local roofing company and schedule an inspection. The small cost of an inspection is an invaluable investment compared to the potential cost of emergency repairs in the middle of a blizzard.
By taking these five steps now, you can rest easy this winter, knowing your roof is ready to handle whatever Mother Nature throws its way. A little preventative maintenance in the fall is the best defense against the harsh realities of winter weather.