Oklahoma storm season doesn’t wait for a convenient time, and neither does your insurance adjuster. Once a claim is filed, you’re often working against the clock — adjusters are booking multiple appointments a day across the metro, and the more prepared you are before they show up, the smoother (and more accurate) your claim is likely to go.
Here’s a practical, room-by-room and roof-by-roof checklist for documenting storm damage before your adjuster meeting, so nothing gets missed and nothing gets underpaid.
Why Documentation Matters More Than You Think
Adjusters move fast. They’re trained to assess damage efficiently, but “efficiently” doesn’t always mean “thoroughly.” Homeowners who show up with their own clear photo and video documentation are in a much stronger position to make sure every affected area gets included in the claim — not just the most obvious damage.
This is also exactly why we recommend having your roofer present at the adjuster meeting: a second set of trained eyes catches things a homeowner (or a rushed adjuster) might miss.
Before the Adjuster Arrives: Your Documentation Checklist
1. Roof — from the ground and, if safe, from a ladder
- Wide shots of each roof slope showing overall condition
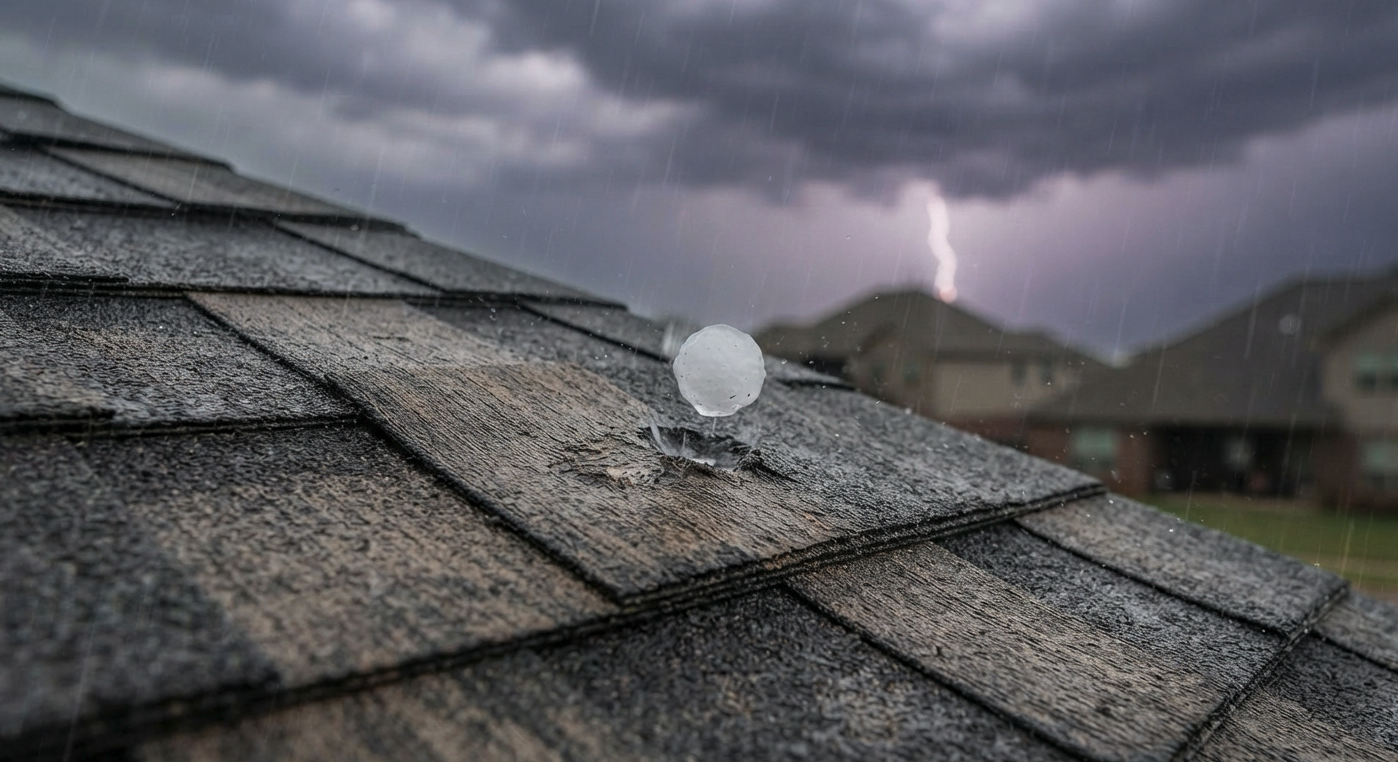
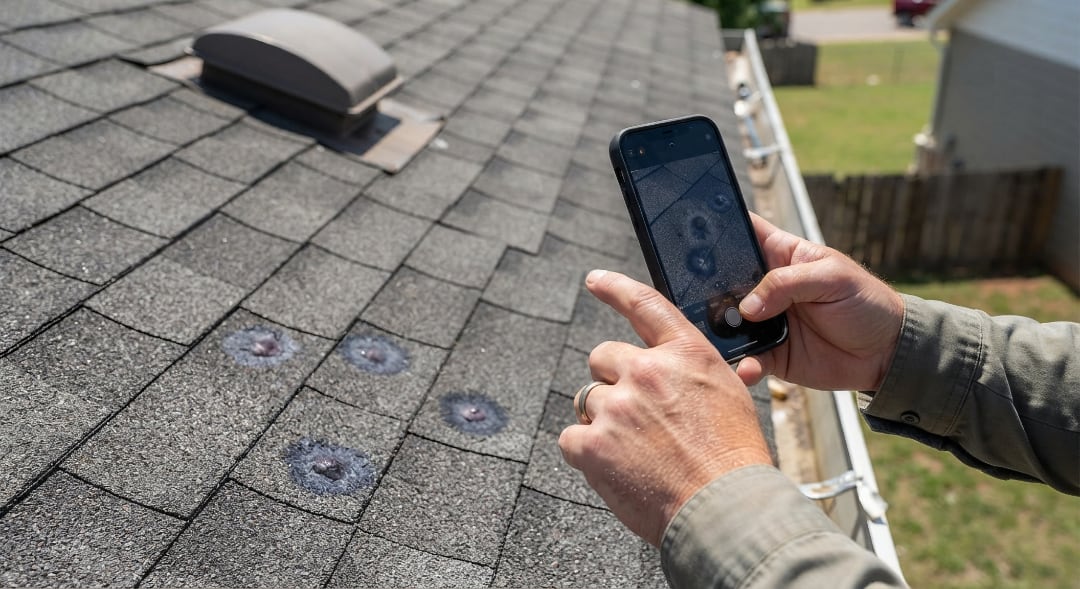
- Close-ups of hail hits on shingles (look for dark, bruised-looking spots)
- Any missing, cracked, or curling shingles
- Damage to ridge caps, flashing, and vents
- Granules collecting in gutters or downspouts — a strong sign of hail impact
2. Gutters and Downspouts
- Dents or dings along the gutter length
- Detached or sagging sections
- Downspout dents or disconnections
3. Siding and Exterior Walls
- Dents, cracks, or chipped paint from hail or wind-blown debris
- Damage concentrated on the side of the house facing the storm’s direction
4. Windows and Screens
- Cracked or shattered glass
- Torn or dented screens
- Damaged frames or seals
5. Fencing
- Leaning, cracked, or missing panels or posts
- Storm-blown debris damage
6. Yard and Property
- Fallen tree limbs or full trees, especially any that landed near or on the structure
- Damaged outdoor structures (sheds, patio covers, AC units)
7. Interior (if applicable)
- Water stains on ceilings or walls from roof leaks
- Any active leaking during or after the storm — photograph and note the date/time
Tips for Better Documentation
- Photograph before you clean up. It’s tempting to start clearing debris right away, but document everything first.
- Use timestamps. Most phone cameras timestamp automatically, but note the date of the storm itself for your records.
- Take both wide and close-up shots. Wide shots show context and scale; close-ups show the specific damage.
- Keep a simple written log. Date of storm, areas affected, and any temporary repairs made (like a tarp) in the meantime.
Why Have Your Roofer There Too
Insurance adjusters aren’t roofing contractors — their job is to assess and estimate, not necessarily to catch every subtlety of storm damage. Having an experienced local roofer at the meeting means someone is there specifically representing your interests, pointing out damage that might otherwise be missed, and making sure the scope of the claim actually reflects the scope of the repair.
If your Oklahoma home has been hit by a recent storm, TaylorMade Exteriors offers free storm damage inspections and can walk your property with you before your adjuster meeting — no obligation, just an extra set of experienced eyes on your side.